As recommended by my tutor I have re-worked the final drawing for part 5.
It appears that after preparing several experiments and preliminary drawings in my first attempt I then moved slightly off course from my initial idea of observing patterns in vegetables close-up, and my final drawing became more of a ‘Still life’ composition.
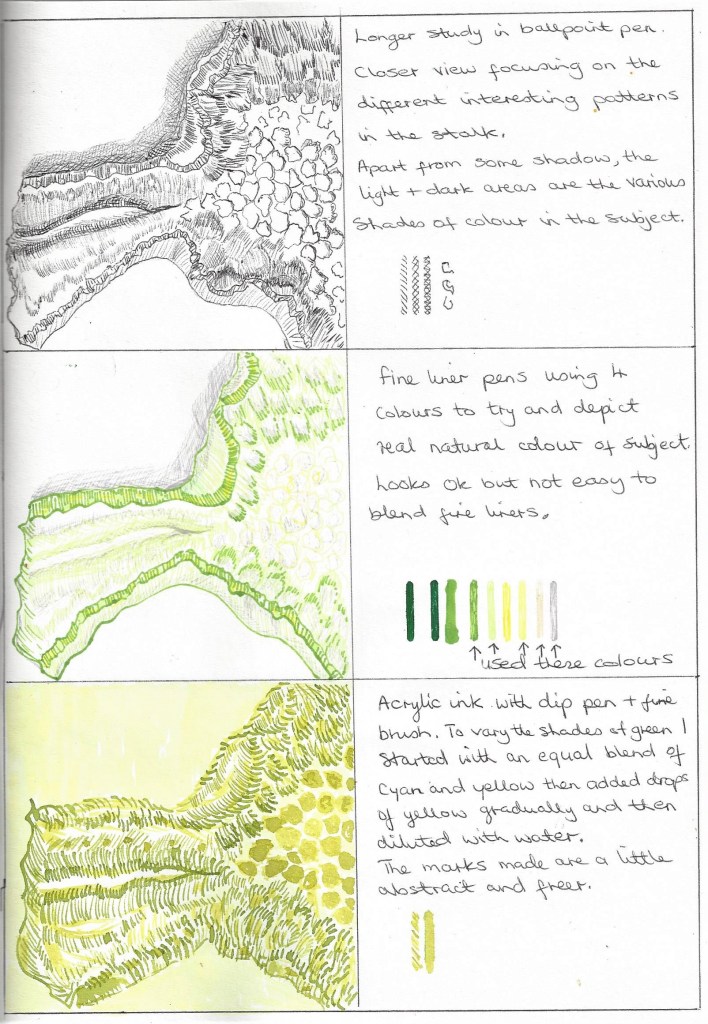
I have now revisited the practice sketches/thumbnails and used these as a notes for the final piece. I have also found inspiration from looking at the work of carol Sowden who is an environmental artist and in this particular body of work she focuses on the patterns of leaves – encouraging us to see the beauty in our everyday surroundings her drawings show a meticulous method of depicting natures markmaking – http://www.carolsowden.com/needleprick-drawing-skeletal-leaf.html
Thumbnails –

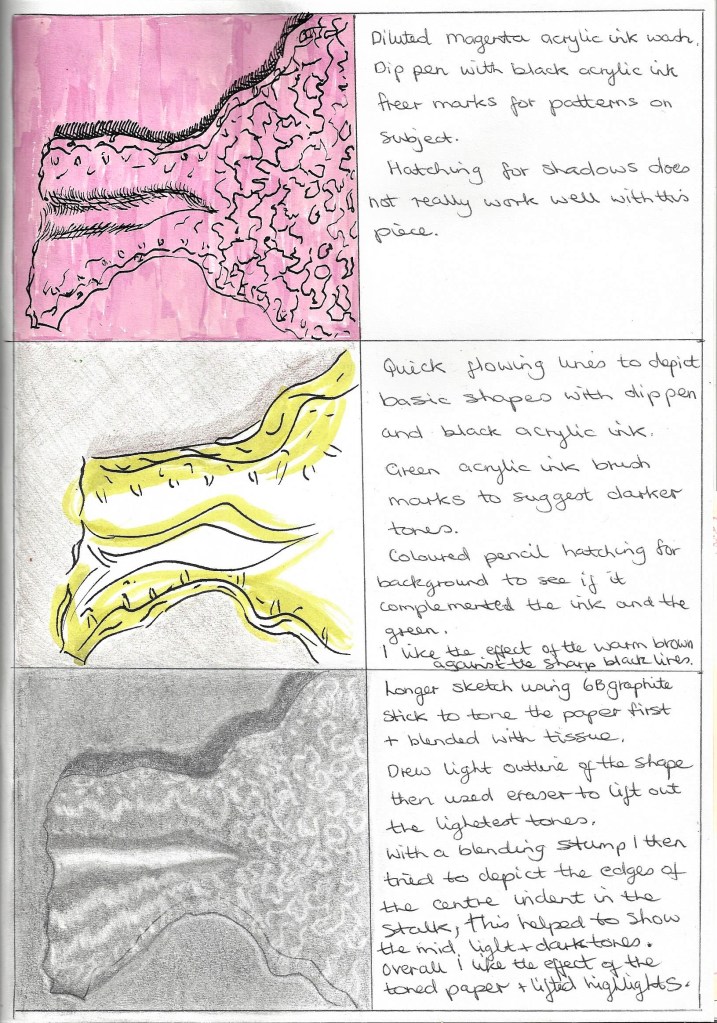
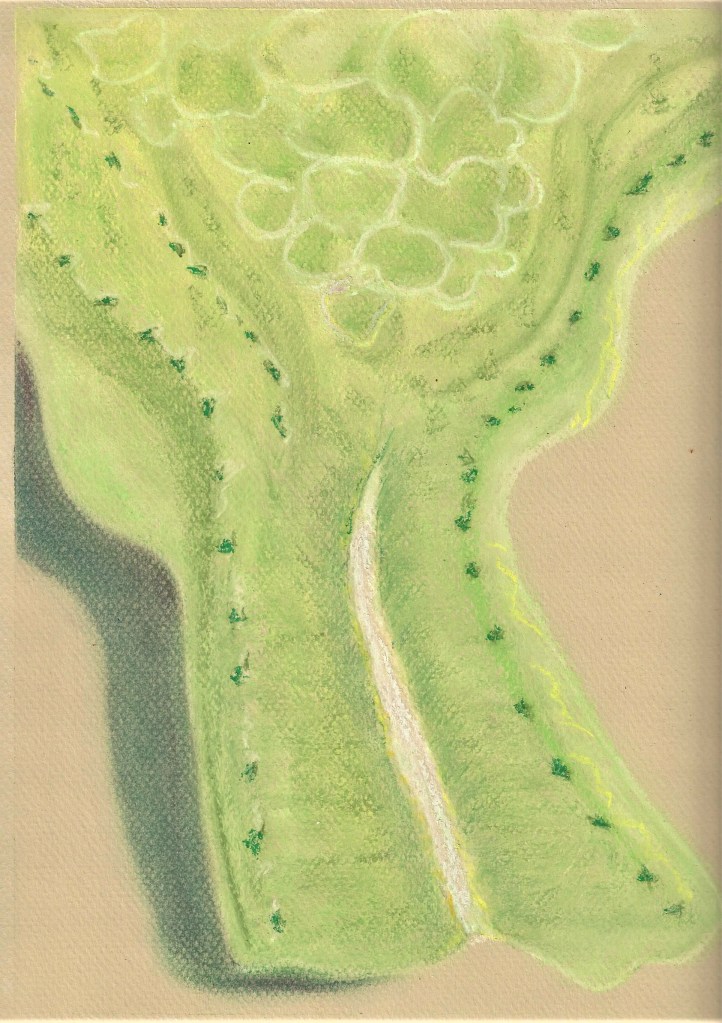


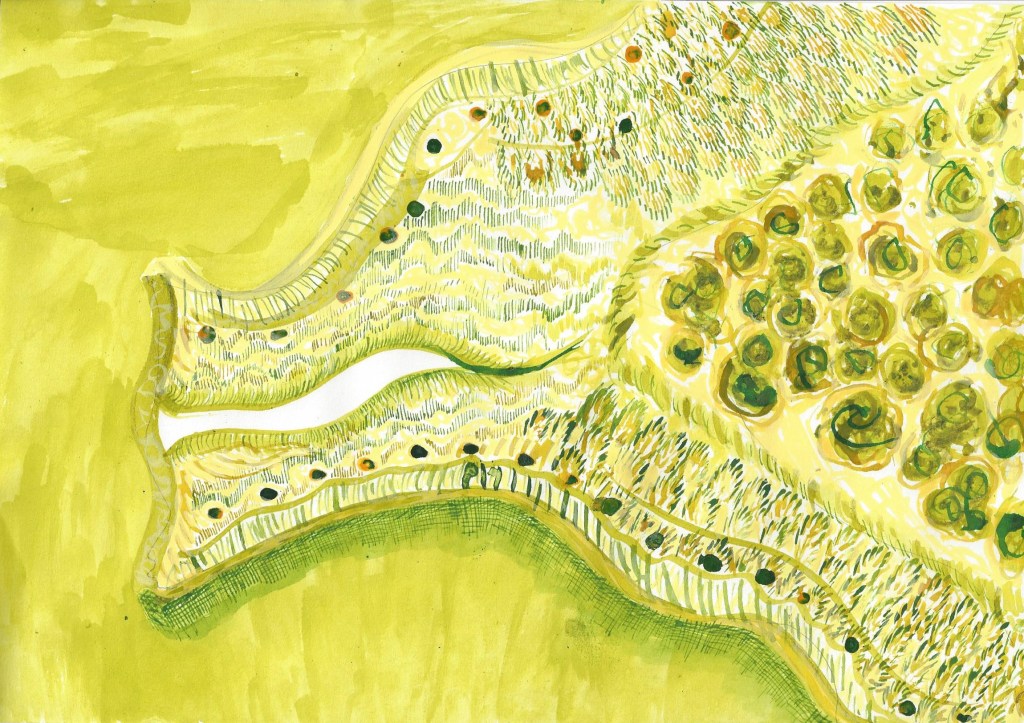
In this drawing the coloured inks are vibrant and have a looser style as I used dip pen and brush. I like the uneven brush strokes for the background but I think it would look better in a different colour as it is too similar to the colour of the main subject which prevents it from standing out on the page.
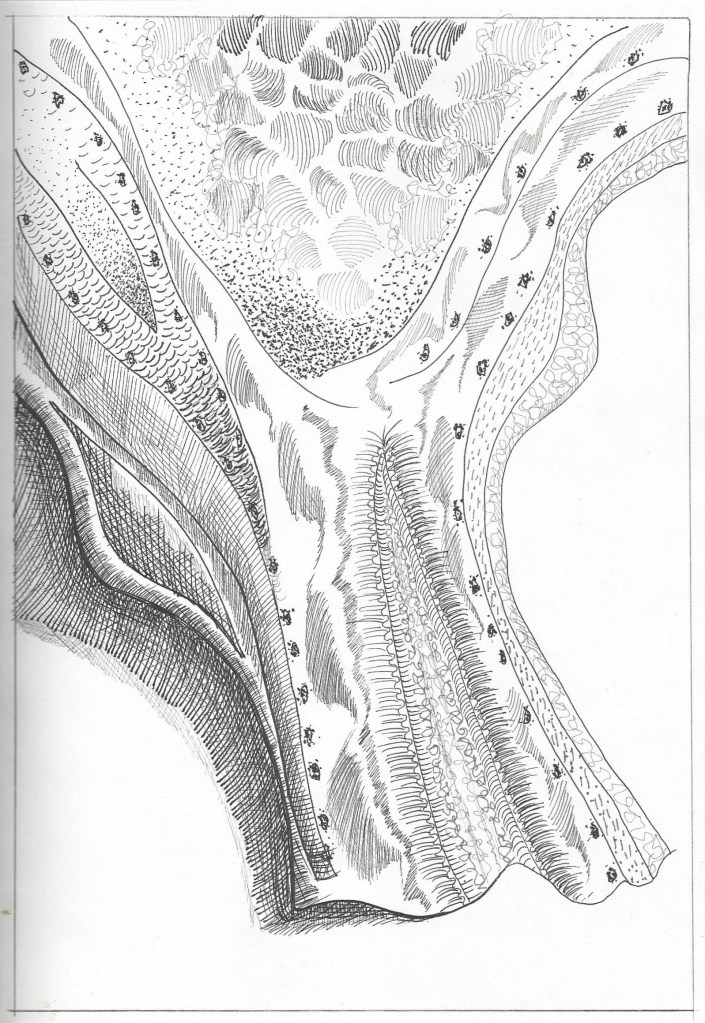
The last 2 drawings have helped me to decide that I will use fine liner ink pens and dip pens with acrylic ink. I have also chosen to use a stick to draw some of the lines and marks to help me keep the drawing loose and not too controlled. I am going to use A3 Bristol board paper as this holds the ink well and absorbs any wetter areas when ink is diluted. I want to frame the drawing close -up in portrait orientation as I think this suits the subject best as it shows that the area of my interest is in the stalk. I started with a light pencil sketch for the basic shape and then mixed various shades of green to yellow inks sometimes adding only 1 drop at a time to lighten or darken the shade. I began with the shadow area on the left with the darkest, heaviest lines drawn with a stick and dip pen.


In the zoomed images above it can be seen that I have used scribbling, hatching, speckling with a toothbrush, drops on ink splashed onto the page, brushwork, dip pen, stick and fine liner.


On A3 heavy drawing paper using graphite, acrylic inks and fine liner pens with stick, dip pen and brush. I am pleased with the final outcome although I wonder if I should have darkened the shadow on the left. Using various shades of green to yellow bring a fresh,crisp feel to the drawing.
Bibliography
Bridgeman https://www.bridgemaneducation.com/en/slideshow/private/1a80ae6a4ad381d8efb432d547d422e2a3958bd9
Hendry, C.J. https://cjhendry.live/
Kaupelis, R (1980) Experimental Drawing: (30th Anniversary edition). U.S.A : Watson-Guptill.
Sowden, C. (2020) Skeletal leaf. At: http://www.carolsowden.com/ accessed 24.04.2020

 Art Journal